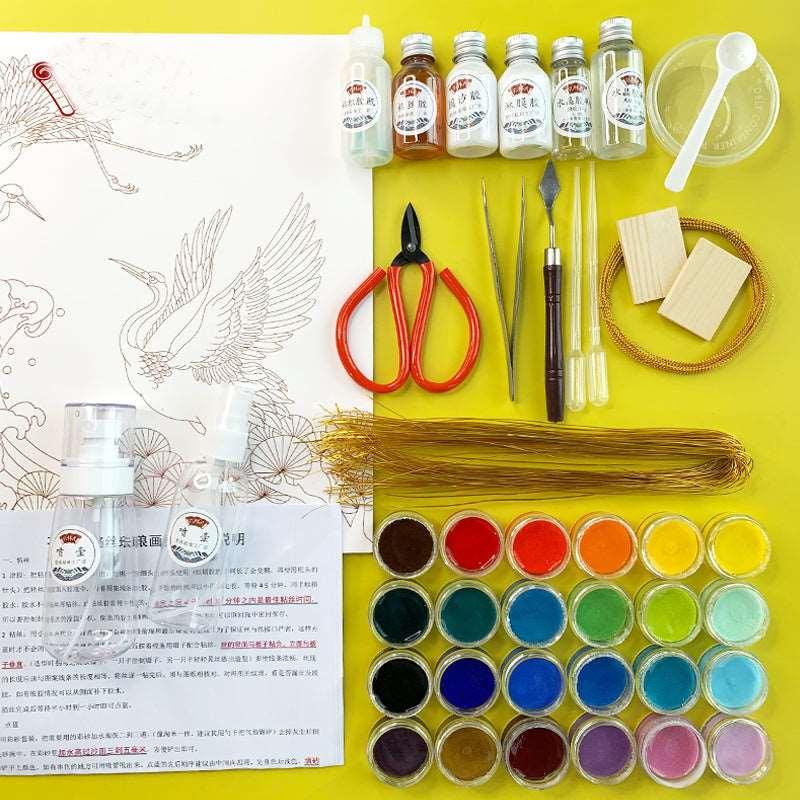
Custom Cloisonné Kit Painting DIY Handmade Kit
Custom Cloisonné Kit Painting DIY Handmade Kit
Regular price
$159.00
Regular price
Sale price
$159.00
Quantity
Couldn't load pickup availability
Why Choose Us
Why Choose Us
⭐️ Trusted by 300,000+ Artists Worldwide – High-quality, consistent pigments
🔒 Safe & Reliable – Secure checkout, multiple payment options, 30-day money-back guarantee
🚀 Fast Shipping & Customer Support – Ships from US warehouse in 3–5 days, 24/7 assistance
🎁 Added Value – Free coloring guide included, perfect for beginners and pros
🖌 Premium Quality Materials – Smooth, opaque acrylic ink for expressive, vibrant artwork
Customization Steps
-
Submit Your Design:
- Upload your photo.
-
Design Approval:
- Our team will review your design and may suggest any necessary adjustments for the best results. We will send you a final version for your approval.
-
Material Preparation:
- Once the design is approved, we will prepare the materials based on your custom design, including the board with the outlined design, gold wire, and all necessary tools and supplies.
-
Customization Kit Assembly:
- We will assemble your DIY kit, which includes all the materials and tools tailored to your design.
-
Shipping:
- Your custom DIY kit will be packaged securely and shipped to your provided address.
-
DIY Assembly:
- Follow the enclosed instructions to complete your custom cloisonné enamel painting using the provided materials and tools. Enjoy creating your personalized masterpiece!
Materials Kit Includes:

Steps for Cloisonné Enamel Process:

Step 1:Preparing Materials
We have prepared all the materials for you.
Step 2: Cloisonné Wire Application
- Apply a line of glue along the design outline on the board.
- Use tweezers to carefully place the gold wire onto the glue, shaping it to match the design.
- Continue this process until all design outlines are covered with gold wire. This completes the wire application step.
Step 3: Enamel Filling
- Following the color scheme of the design, slowly fill each section with enamel paint.
- Be careful not to fill above the height of the gold wire. Apply small amounts of paint and repeat the process to ensure the sections are adequately filled.
Step 4: Sealing
- Use the glue from the materials kit to seal the enamel.
- This step is crucial for the overall effect, so proceed carefully to ensure the best results.